
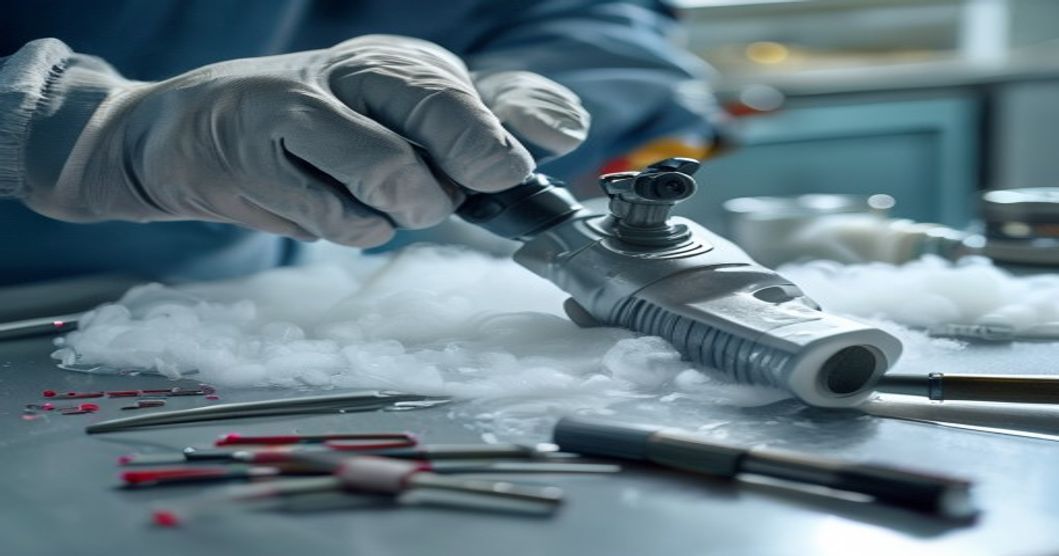
Quick answer. Flush and wipe your polyurethane spray gun at the end of every shift, and do a full teardown clean (mixing chamber, nozzle, check valves, O-rings) at least weekly under normal duty. Skipping it lets isocyanate crystallize and swell the O-rings, which turns a five-dollar seal into a seized gun and a lost jobsite day. A complete teardown, clean, O-ring inspection, and reassembly takes a trained operator about 20-30 minutes.
A spray gun is the one part of a plumbing-and-spray rig that fails on your schedule, not the machine's. On a Pioneer Spray turnkey system — the same gun ships across our pneumatic spray machine and electric spray machine lines — the pump, heaters, and hoses will run for years, but the gun sees hot A-side and B-side chemistry every trigger pull. Keep it clean and it is a non-event. Ignore it and it is the reason you are standing on a roof at 7am searching "why won't my foam gun spray." This guide is the full field procedure: safety, symptoms, teardown, our first-party O-ring size chart, air check valve troubleshooting, and a maintenance cadence you can actually keep.
Before You Open Anything: Isocyanate Safety
The B-side (and residue throughout the gun) contains isocyanates. These are respiratory and skin sensitizers — once you are sensitized, even trace exposure can trigger asthma-grade reactions for the rest of your career. Do not shortcut PPE because "it's just cleaning."
- Respiratory protection: supplied-air or a properly fit-tested respirator per your written program. Review the current requirements in OSHA's Respiratory Protection standard before you rely on any cartridge.
- Skin/eye: chemical-resistant gloves (nitrile over the hand you clean with), safety glasses, sleeves. Isocyanate on skin is a sensitization route, not just an irritation one.
- Ventilation: clean in open air or with local exhaust. See NIOSH's guidance on occupational exposure to isocyanates for hierarchy-of-controls detail.
Cleaning solvent adds a flammability and inhalation hazard on top of the chemistry. Treat the whole operation as hazardous work, not shop chores.
Signs It's Time to Tear Down the Gun
Do not wait for a hard clog. The gun tells you it needs service days before it quits:
- Fan pattern breaking up — tails, fingers, or an off-center spray usually means a nicked nozzle tip or a swollen nozzle-seat O-ring.
- Cross-over / leakage — A and B weeping past worn mixing-block seals; you'll see hardened bead where material shouldn't be.
- Air won't purge — sluggish or no air blast means a fouled air check valve (covered below).
- Slow trigger return — the friction pair / return spring is gummed with cured residue.
- Pressure spike at the gun — partial crystallization narrowing the flow path.
Any two of these together = tear down now, before it seizes mid-pour.
Teardown Video (Full Procedure)
Watch the exact sequence on our own bench before you try it in the field — front cap, nozzle, nozzle sleeve, mixing chamber, check valve, and friction pair, in order, with reassembly:
Step-by-Step Teardown
Relieve all pressure and shut off air before you start. Work over a tray so nothing rolls off the roof.
- Front cap: back it off and inspect the face for cured buildup.
- Nozzle: remove and check the tip for nicks and the nozzle O-ring for swell/flat spots.
- Nozzle sleeve: pull the sleeve, clean the seat, inspect its O-ring.
- Mixing chamber: the highest-wear part — clean the bore and cross-holes with the correct-diameter drill/reamer and a brush. Any residual bead here ruins the pattern.
- Check valves (material + ball/filter): remove, verify the ball seats and the valve isn't stuck open.
- Friction pair / trigger assembly: clean, inspect the return path, re-grease with a compatible lubricant.
Soak metal parts in fresh cleaning solvent; brush, don't gouge. Replace any O-ring you're unsure about — sealing a $6,000+ turnkey rig with a tired seal is false economy.
First-Party O-Ring Size Chart
These are the measured seal sizes for our gun platform (metric, ID × cross-section). Keep this taped inside your service kit — sourcing the wrong cross-section is the #1 reason a "cleaned" gun still leaks:
| Location | O-Ring Size (ID × CS, mm) |
|---|---|
| Small O-ring | 9 × 1.9 |
| Large O-ring | 21 × 1.9 |
| Nozzle O-ring | 9 × 2.2 |
| Nozzle sleeve O-ring | 16.5 × 1.5 |
| Material block O-ring | 18 × 1.5 |
| Ball valve O-ring | 15 × 1.9 |
| Filter valve O-ring | 15 × 1.9 |
| Friction pair O-ring | 10 × 1.5 |
| Air check valve O-rings | 15 × 1.9 + 9 × 1.9 |
Need these matched to your exact gun model in one pack? Order the correct spray gun O-ring kit instead of guessing cross-sections from a generic assortment.
O-Ring Failure Symptom Cross-Reference
When the gun misbehaves, this table points you straight at the seal to pull — no full teardown guessing:
| Symptom You See | Likely O-Ring / Part |
|---|---|
| Off-center or split fan pattern | Nozzle O-ring (9×2.2) / nozzle tip |
| Drip or weep at the front cap | Nozzle sleeve O-ring (16.5×1.5) |
| A/B cross-over, hard bead at joint | Material block O-ring (18×1.5) |
| Pressure won't hold / bleeds down | Ball valve O-ring (15×1.9) |
| Debris in stream, erratic flow | Filter valve O-ring (15×1.9) |
| Slow trigger return, stiff action | Friction pair O-ring (10×1.5) |
| No/weak air purge | Air check valve O-rings (15×1.9 + 9×1.9) |
Air Check Valve Troubleshooting
The air check valve keeps chemistry from backing into the air line and delivers the purge blast that clears the tip after each pass. When it fouls, you get weak or no air, back-pressure chatter, or material creeping into the air circuit.
- Confirm supply first: verify regulator pressure and that the line isn't kinked — don't tear down a healthy valve chasing a dead compressor.
- Remove and inspect: pull the valve; look for a ball/poppet stuck open or a seat glazed with cured residue.
- Clean the seat: solvent-soak and brush; the seat must be mirror-clean to seal.
- Re-seal: replace both O-rings (15×1.9 and 9×1.9) — they are cheap and they are almost always the root cause of a weeping check valve.
- Function test: reinstall, apply air, confirm a crisp purge with no bleed-back into the material side.
Reassembly, Torque & Solvent Rules
Reassembly is where good cleans get ruined. Reverse the teardown order, and:
- Lubricate seals with a compatible O-ring grease before seating — dry seals shear and roll.
- Even, moderate torque on the front cap and mixing block. Snug and square, not gorilla-tight — over-torque distorts the seat and causes the very leak you just fixed.
- Never water-wash the A-side. Isocyanate reacts with water and forms hard, insoluble crystals that ruin passages. Use the manufacturer-approved cleaning solvent only.
- Match solvent to material: aggressive solvents can swell seals — follow the machine's chemical compatibility notes.
Maintenance Schedule
Set the cadence and the emergencies mostly disappear:
| Interval | Action |
|---|---|
| End of shift | Purge, wipe tip/front cap, cap or lubricate to prevent crystallization overnight |
| Weekly | Full teardown clean; inspect all O-rings; clean mixing chamber cross-holes; test air check valve |
| Monthly | Replace high-wear O-rings (nozzle, nozzle sleeve, air check valve); inspect nozzle tip for wear; verify torque values |
Heavy daily production shortens these intervals. When a gun is run this way, the platform stays field-serviceable for years — a big reason our turnkey systems land at $3,250-$11,200 against Graco/PMC pricing while keeping wear parts cheap and standard. The JYYJ-H-V6T and the rest of the range all share this serviceable gun architecture, so one O-ring kit and one procedure cover your whole fleet.
Spare Parts to Keep on the Truck
A jobsite clog is only a crisis if you can't reseal on site. Stock a small kit and you turn a lost day into a 20-minute pause:
- Full O-ring set (all sizes from the chart above)
- Spare nozzle tip + nozzle sleeve
- Spare air check valve rebuild seals
- Cleaning brushes, correct-diameter reamer, approved solvent
- Compatible O-ring lubricant
Build the exact pack for your gun from our spray gun parts and O-ring kits so every seal on the truck is the right cross-section.
FAQ
Q: Can I just soak the whole gun in solvent instead of taking it apart?
No. Soaking swells and degrades O-rings, and it won't clear cured material packed inside the mixing chamber cross-holes. Disassemble, soak the metal parts, brush the passages, and replace suspect seals.
Q: How often should I replace the O-rings?
Inspect weekly and replace on the first sign of swell, flat spots, or leakage. Under normal duty, plan to swap the high-wear seals (nozzle, nozzle sleeve, air check valve) monthly regardless of appearance.
Q: The gun won't spray — what do I check first?
In order: air/material pressure at the machine, then the nozzle/tip for a clog, then the mixing chamber, then the check valves. Most "dead gun" calls are a fouled tip or a stuck check valve, not the pump.
Q: How do I shut the gun down overnight?
Purge it, wipe the tip and front cap, and cap or lubricate the nozzle so residue can't crystallize. Never leave un-purged A-side material sitting in the gun — that's how overnight becomes a rebuild.
Q: My A-side crystallized — can it be saved?
Sometimes. Disassemble, mechanically clear the passages with the correct reamer and brush, and replace any seal that hardened. Never use water to dissolve it — water makes isocyanate crystallize harder. If the mixing chamber is fully packed, replace it.
Clean guns don't strand crews. If you want the exact O-ring kit and wear-part list matched to your gun model — or a full turnkey PU/polyurea system that ships field-serviceable out of the box — talk to our technical engineers for a free configuration.