
Polyurethane spray foam machines offer an enticing prospect for DIY enthusiasts looking to tackle insulation projects on their own. While professional-grade equipment typically requires specialized knowledge and substantial investment, there are now several consumer-friendly options that balance functionality with accessibility for homeowners willing to learn proper techniques.
Key Takeaways
- Entry-level PU foam kits provide a manageable starting point for small DIY insulation projects
- Safety precautions including proper protective equipment are essential for DIY spray foam applications
- Understanding the difference between open and closed-cell foam helps determine project suitability
- DIY spray foam projects have significant cost-saving potential compared to professional installation
- Consider equipment rental options before investing in a personal spray foam machine
Understanding PU Spray Foam Machines
Polyurethane (PU) spray foam machines are specialized equipment designed to mix and apply two chemical components—polyol resin and isocyanate—that react to create insulating foam. These machines vary significantly in size, from portable kits to commercial-grade systems with sophisticated features and temperature control mechanisms.
For DIY enthusiasts, the market offers smaller, more manageable units that balance functionality with usability. These machines typically include the spray gun, hoses, and chemical cylinders in a complete application system that doesn't require extensive technical knowledge to operate.
The basic operation involves the machine heating and pressurizing the two chemical components, which then mix at the spray gun nozzle just before application. This creates an expanding foam that adheres to surfaces and hardens to form an insulating barrier.
Types of PU Spray Foam for DIY Applications
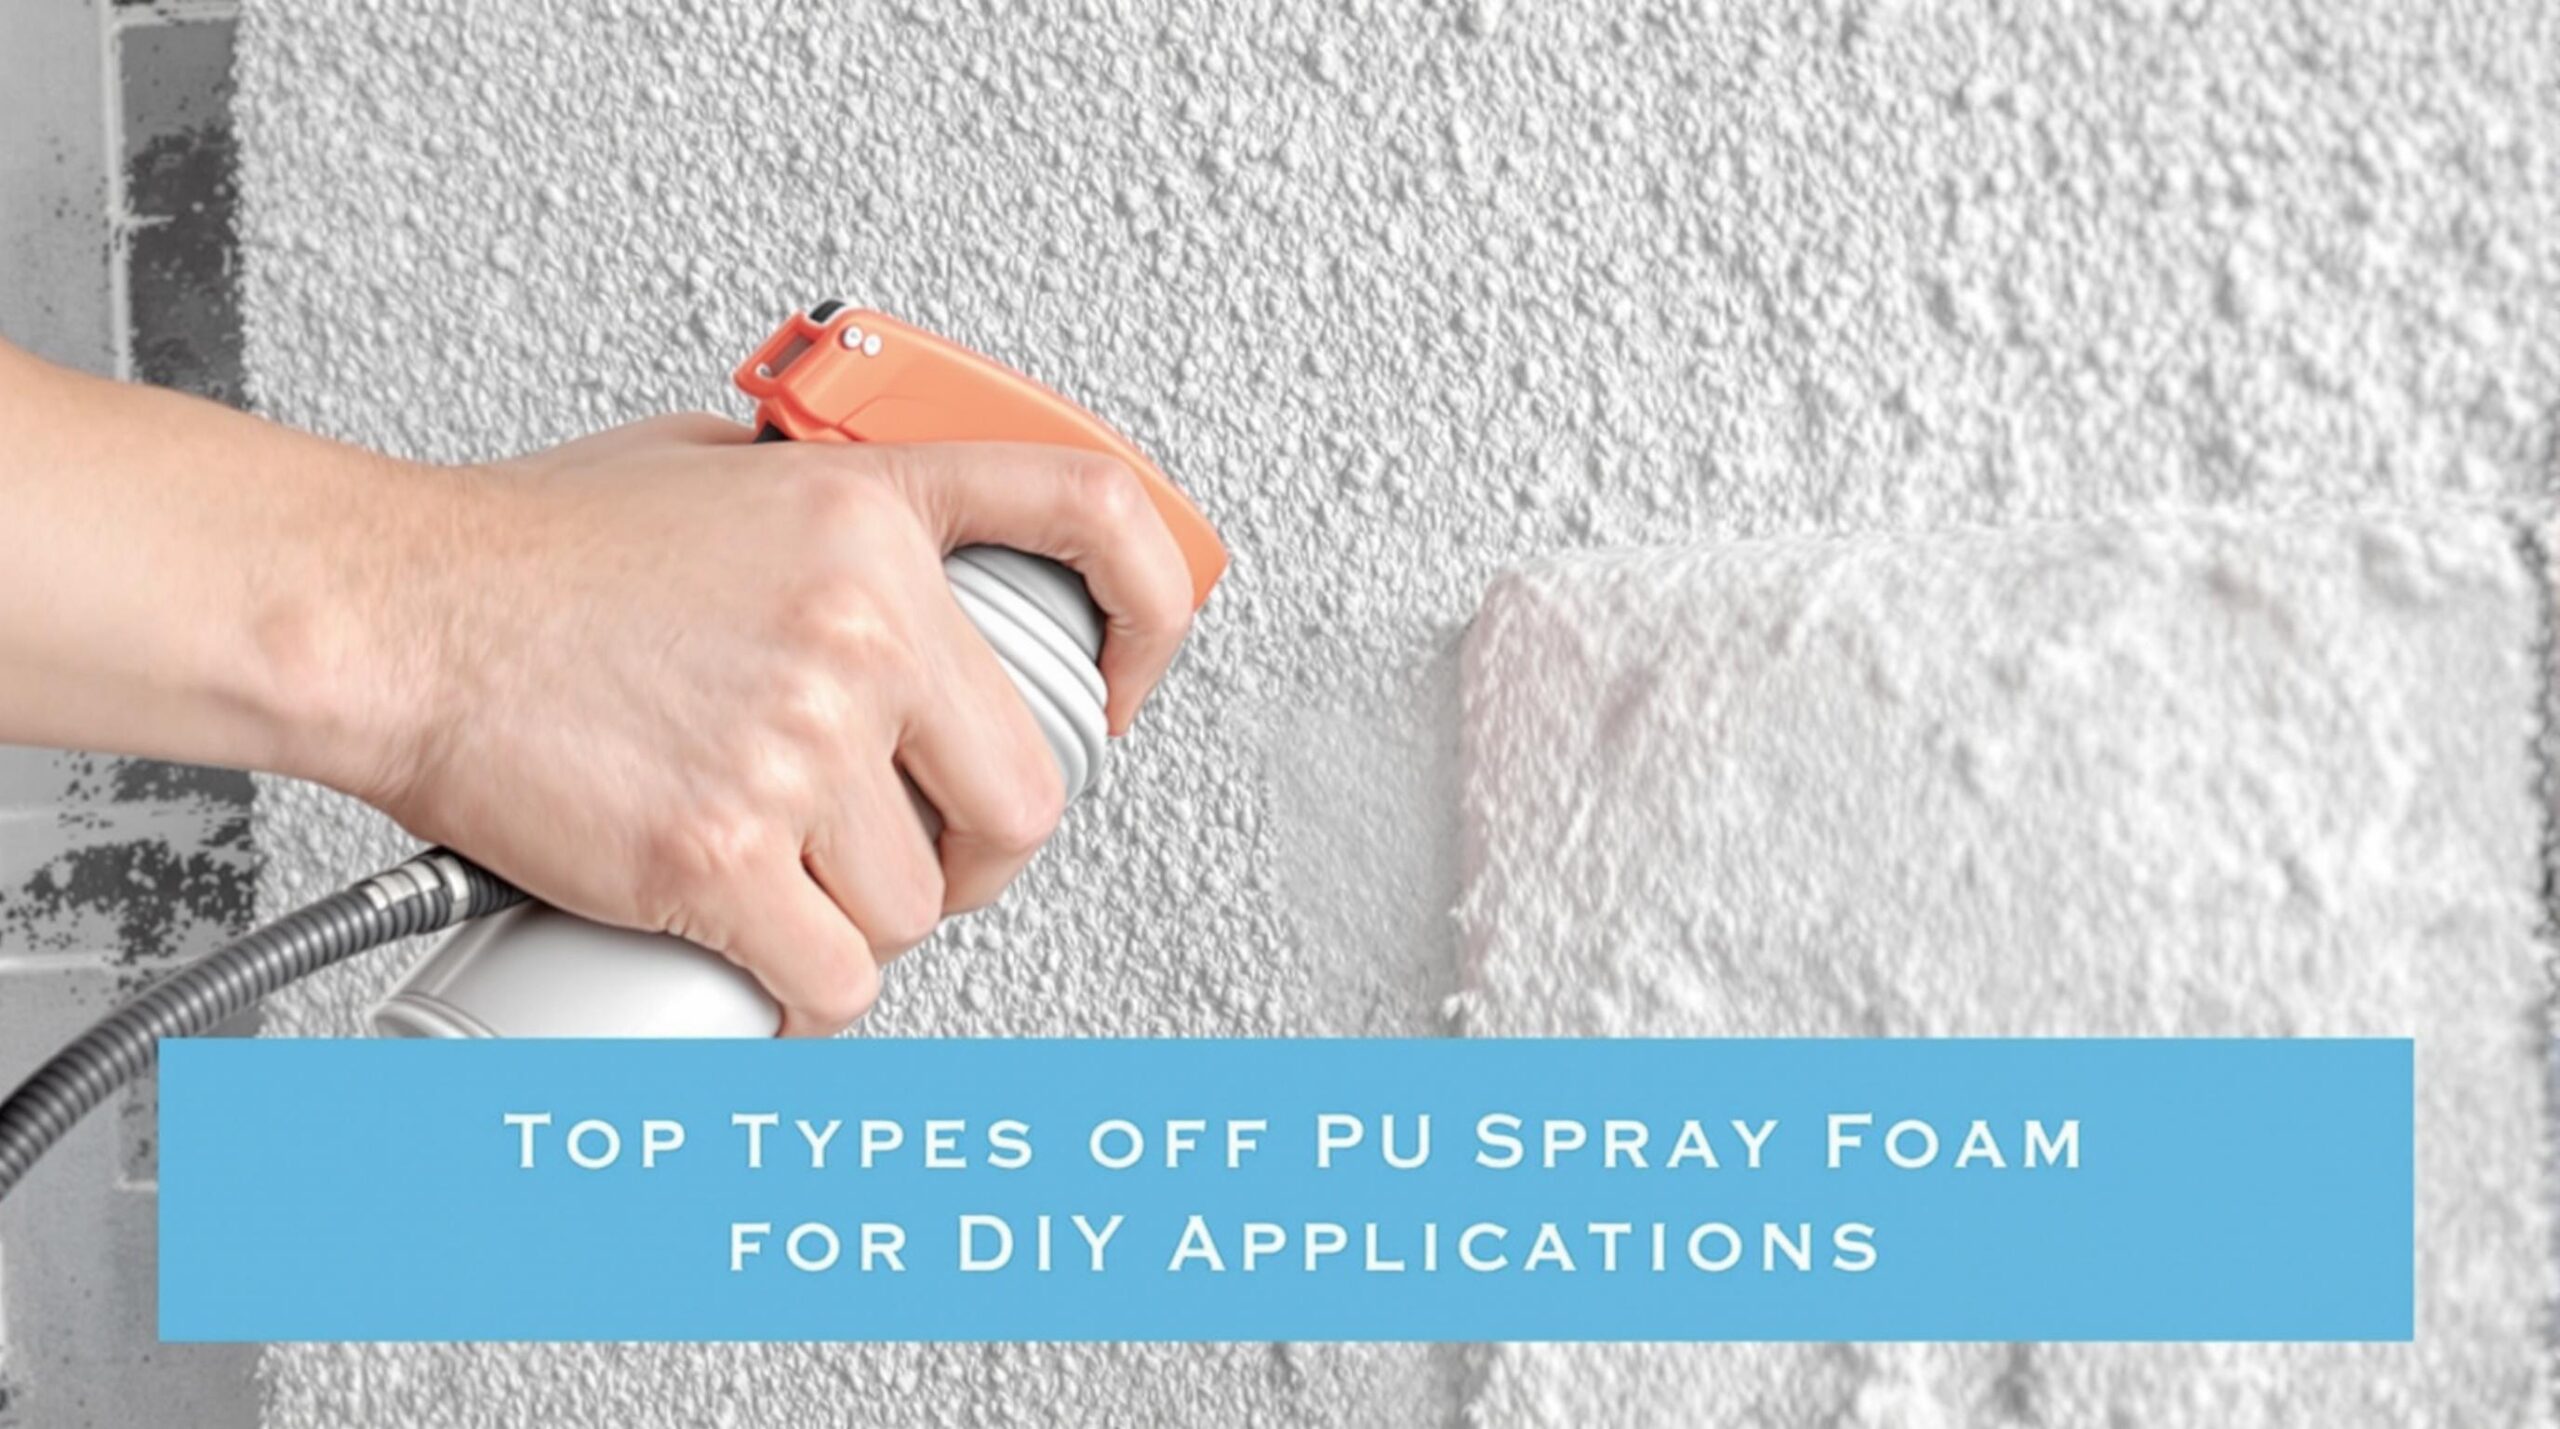
When considering DIY spray foam projects, understanding the different types available helps determine which is most suitable for your specific needs.
Open-Cell Spray Foam
Open-cell foam has a lower density and softer texture. It's more affordable and allows moisture vapor to pass through, which can be beneficial in certain applications. This type expands significantly during application, making it ideal for filling irregular cavities and spaces.
Key characteristics of open-cell foam include:
- R-value of approximately 3.5-3.6 per inch
- Lower cost per board foot compared to closed-cell
- Better sound dampening properties
- More flexible when cured
- Easier for beginners to work with
Closed-Cell Spray Foam
Closed-cell foam is denser and more rigid than open-cell foam. It provides a higher R-value per inch and acts as a vapor barrier. This type is ideal for applications where maximum insulation in minimal space is required.
- R-value of approximately 6-7 per inch
- Creates a moisture barrier
- Adds structural strength to walls
- Better for exterior applications or damp areas
- Requires more precise application technique
DIY-Friendly Spray Foam Kit Options
The market offers several entry-level options for homeowners interested in DIY spray foam insulation. These kits are designed to balance usability with performance.
Smaller disposable kits typically include:
- Two pressurized cylinders containing the chemical components
- Dispensing hoses
- A spray nozzle or gun attachment
- Basic instructions and safety guidelines
These kits are perfect for smaller projects such as insulating rim joists, sealing around windows and doors, or insulating small spaces like a crawl space or attic hatch. They don't require external power sources and offer a manageable introduction to spray foam application.
For larger DIY projects, semi-professional systems provide more capacity and control. These typically feature:
- Refillable or replaceable chemical cylinders
- More sophisticated spray guns with adjustable settings
- Longer hoses for better reach
- Temperature monitoring capabilities
Cost Analysis: DIY vs. Professional Installation
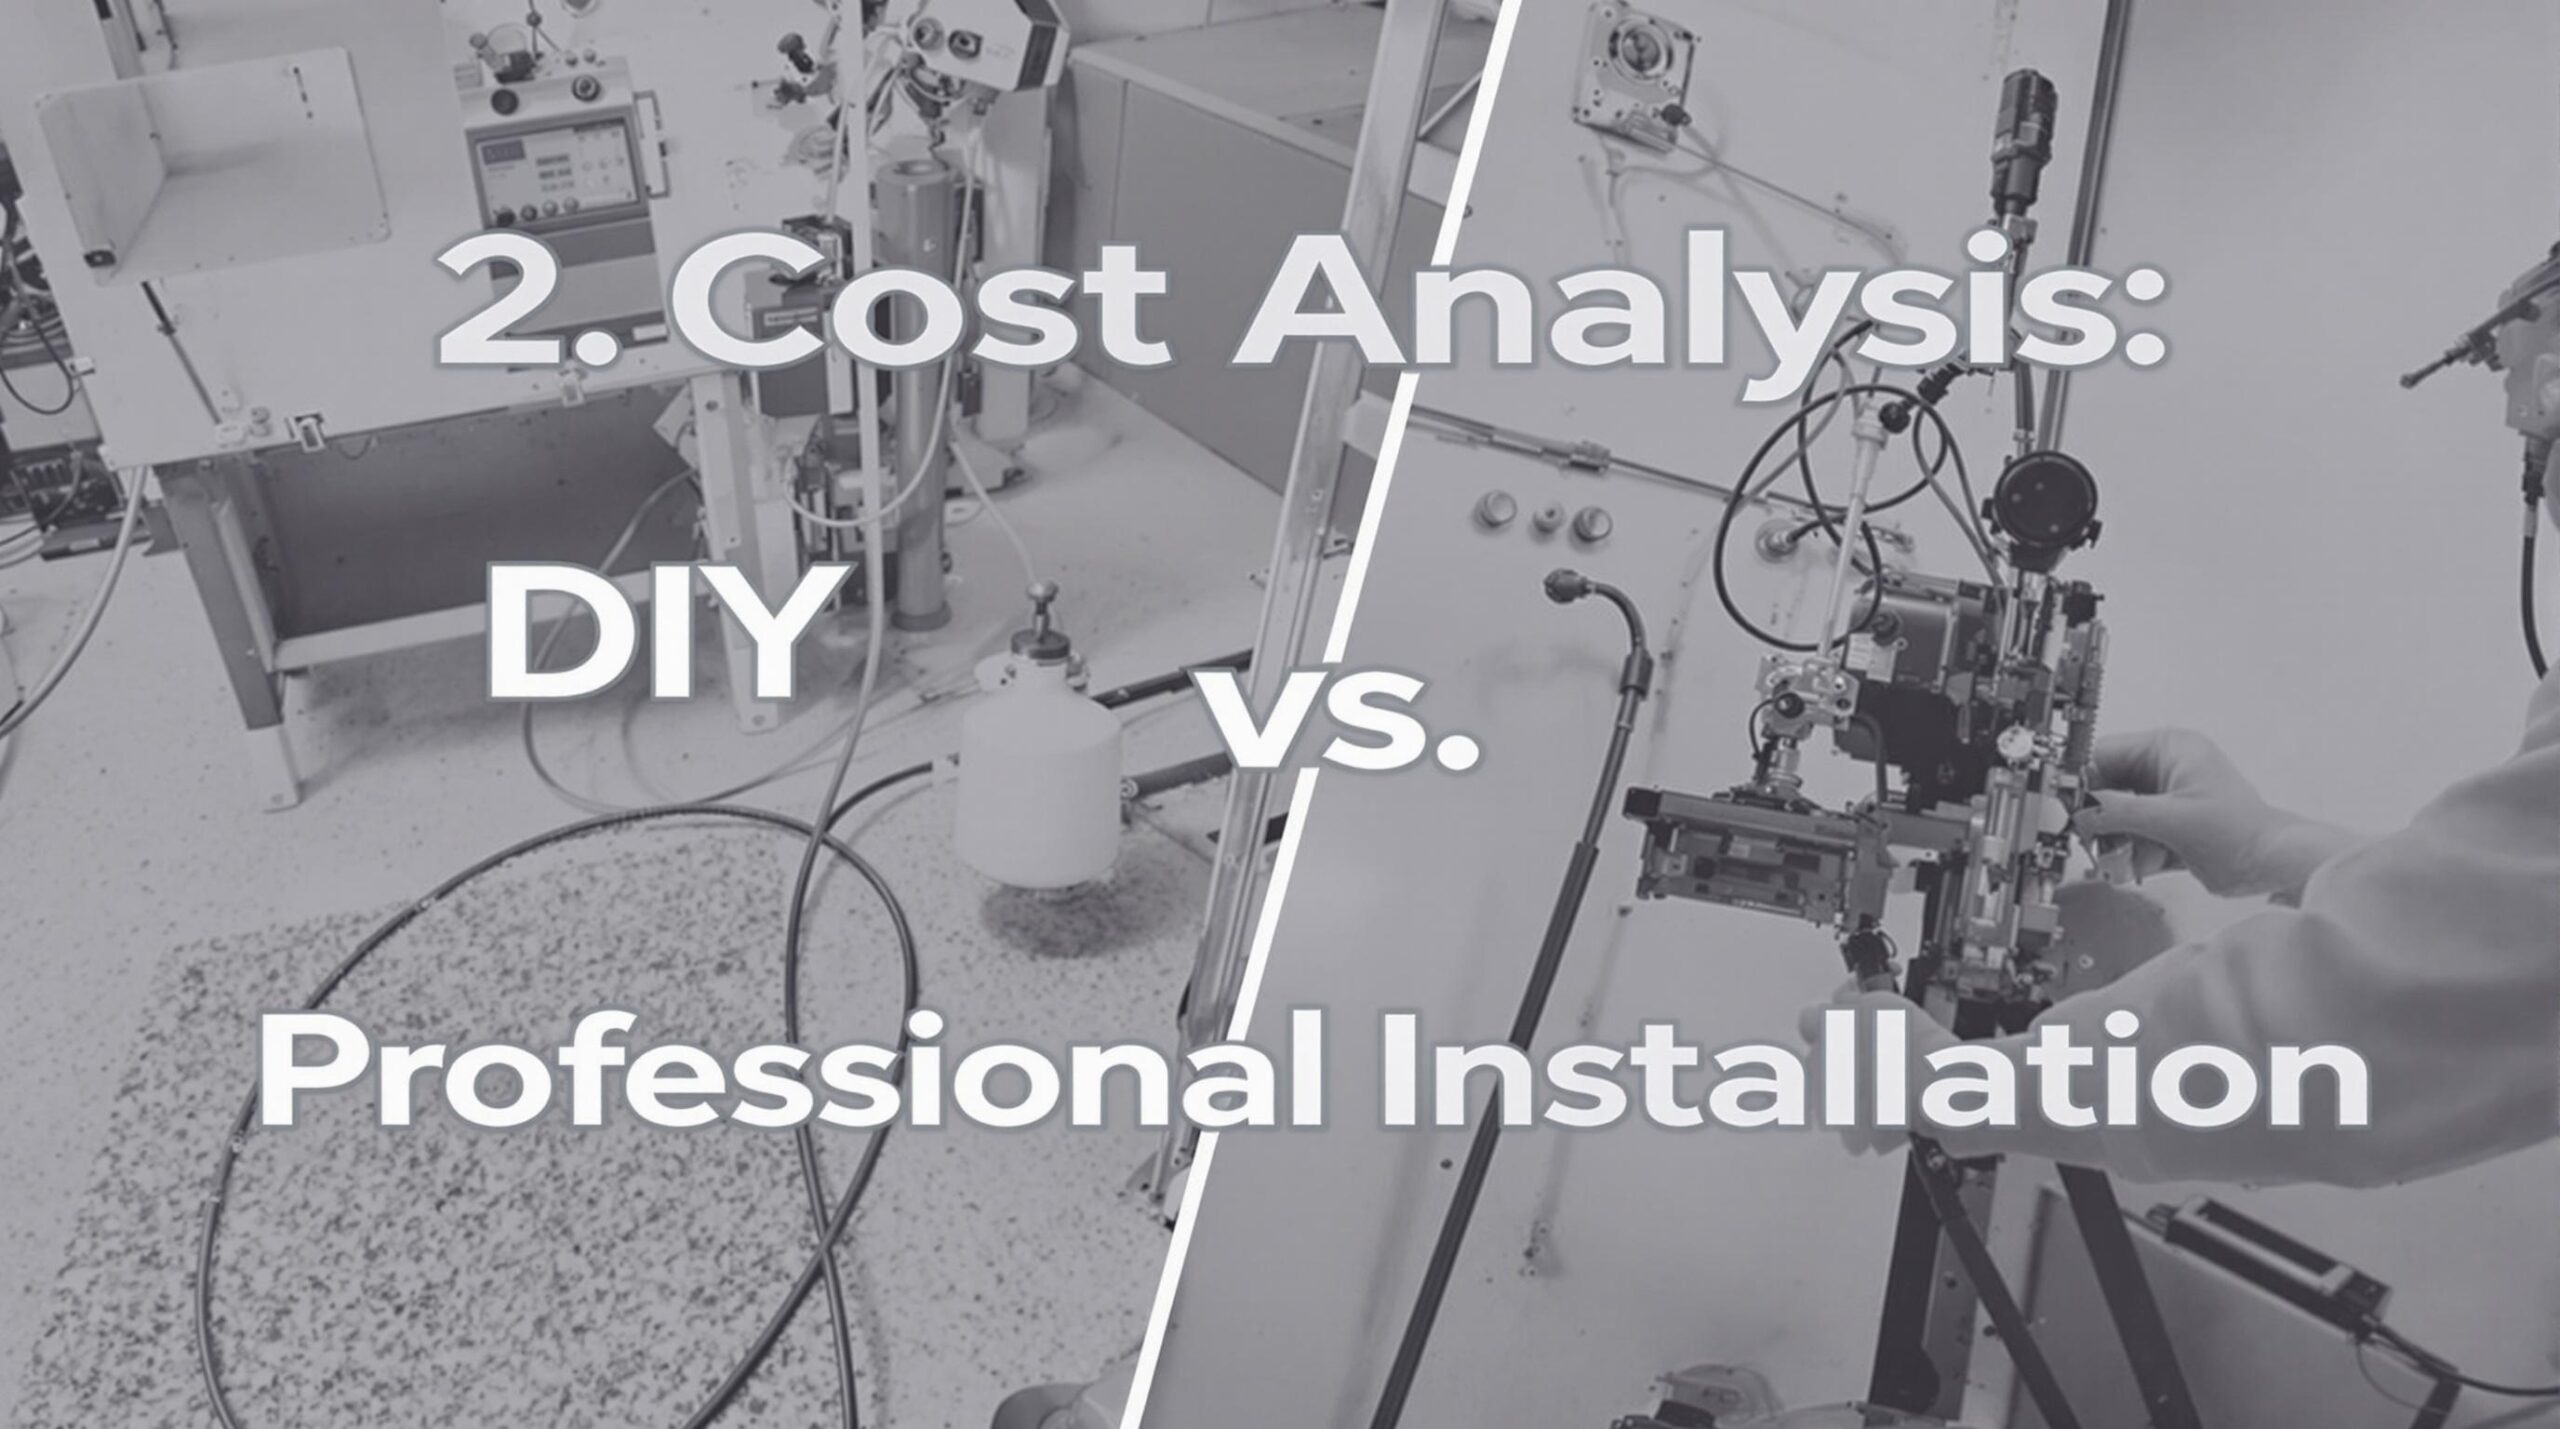
One of the primary motivations for DIY spray foam projects is cost savings. Professional installation typically ranges from $1.50 to $5.00 per square foot, depending on the foam type, project complexity, and location.
DIY kit costs break down approximately as follows:
- Small disposable kits (200-600 board feet): $300-$800
- Medium kits (600-1200 board feet): $700-$1,500
- Larger refillable systems: $1,500-$5,000
For a typical project, DIY application can reduce costs by 40-60% compared to professional installation. However, these savings must be weighed against factors like application quality, time investment, and potential waste from improper application.
Additional costs to consider include:
- Protective equipment (respirator, coveralls, eye protection): $100-$300
- Preparation materials (plastic sheeting, masking tape): $50-$150
- Cleanup supplies and tools: $50-$100
Safety Considerations for DIY Spray Foam Application
Safety should be the top priority for any DIY spray foam project. The chemicals used in spray foam insulation can pose health risks if not handled properly.
Essential safety equipment includes:
- Full-face respirator with appropriate cartridges specific to isocyanates
- Chemical-resistant coveralls that cover the entire body
- Chemical-resistant gloves
- Eye protection if not using a full-face respirator
- Head covering or hood
Beyond personal protection, proper ventilation is crucial. The application area should be well-ventilated, and other people and pets should remain clear of the space during application and for at least 24 hours afterward as the foam cures and off-gasses.
It's also important to carefully read and follow all manufacturer instructions regarding storage, handling, and disposal of the chemicals. Temperature requirements for both storage and application must be strictly adhered to for optimal results and safety.
Skill Level Required for DIY Spray Foam Projects
While DIY spray foam kits are designed to be user-friendly, they still require a certain level of skill and preparation. Successful application depends on proper technique and understanding of the material's behavior.
Skills necessary for DIY spray foam application include:
- Ability to prepare surfaces properly (clean, dry, and free of dust)
- Understanding of proper spraying technique and distance
- Knowledge of appropriate layer thickness for the specific foam type
- Ability to work quickly and methodically before the chemicals begin to set
- Awareness of temperature effects on application and curing
For beginners, it's advisable to start with smaller, less visible areas to practice technique before tackling larger or more visible spaces. Many manufacturers provide instructional videos that are extremely helpful for first-time users.
Common DIY Spray Foam Applications
Spray foam insulation is versatile and can be used in numerous DIY applications around the home. Some of the most suitable projects for DIY enthusiasts include:
Rim Joist Insulation
The rim joist area where your house's floor system meets the foundation is often poorly insulated and a source of air leaks. This accessible and clearly defined area makes it an ideal first project for DIY spray foam application.
Attic Insulation
Attics can benefit greatly from spray foam insulation. For DIYers, focusing on smaller areas like attic hatches, around pipes, or along the roof line can provide significant energy improvements without the complexity of a whole-attic application.
Sealing Penetrations
Areas where pipes, wires, or vents penetrate exterior walls are common sources of energy loss. Spray foam excels at sealing these irregular shapes and creating an airtight barrier.
Shed or Workshop Insulation
Detached structures like sheds or workshops make excellent practice spaces for DIYers as mistakes are less critical, and the entire project can be managed in a controlled environment.
Crawl Space Insulation
Uninsulated crawl spaces can lead to cold floors and energy loss. Spray foam can effectively seal and insulate these spaces, though working in confined areas requires careful planning.
Preparation and Planning for DIY Spray Foam Projects
Successful DIY spray foam projects rely heavily on proper preparation. This planning phase is critical and often determines the quality of the final results.
Essential preparation steps include:
- Calculating the area to be covered and purchasing appropriate kit size (with extra margin for error)
- Ensuring ambient temperature meets manufacturer specifications (typically 60-90°F)
- Confirming substrate temperature is within recommended range
- Protecting adjacent surfaces with plastic sheeting and masking tape
- Removing dust, dirt, and moisture from surfaces to be sprayed
- Setting up proper ventilation systems
- Arranging all safety equipment and ensuring proper fit
It's also important to plan your application sequence to work efficiently once you begin spraying. The chemical components begin reacting immediately upon mixing, so having a clear plan prevents wasted material and poor application.
Equipment Rental vs. Purchase Considerations
For individuals considering larger DIY spray foam projects, the question of renting versus buying equipment becomes relevant. This decision should be based on project scope and potential future needs.
Rental advantages include:
- Lower upfront cost
- Access to professional-grade equipment
- No maintenance or storage requirements
- Often includes basic training or guidance
Purchase advantages include:
- Availability for multiple projects over time
- Ability to become proficient with the same equipment
- Lower long-term cost for multiple or ongoing projects
For most homeowners, rental or disposable kits make more economic sense unless they plan to use the equipment for multiple substantial projects or have a small contracting business.
Common Mistakes and How to Avoid Them
DIY spray foam projects come with potential pitfalls that can affect both the quality of insulation and safety. Being aware of these common mistakes can significantly improve results.
Typical errors include:
- Applying too thick a layer in a single pass (leading to improper curing and potential fire hazard)
- Spraying onto damp surfaces (causing adhesion problems)
- Improper chemical temperature (affecting reaction and expansion rates)
- Inadequate mixing (resulting in soft spots or uncured foam)
- Failing to protect skin and lungs from chemical exposure
To avoid these issues, follow manufacturer guidelines strictly and consider practicing with smaller kits before attempting larger applications. Many suppliers offer technical support lines that can provide valuable guidance for DIYers.
Environmental and Health Considerations
While spray foam insulation offers excellent energy efficiency benefits, DIYers should be aware of potential environmental and health impacts.
Modern spray foam formulations have improved significantly, with many manufacturers offering options that are:
- Low in volatile organic compounds (VOCs)
- Free from ozone-depleting blowing agents
- Formulated without formaldehyde
However, isocyanates, a key component in polyurethane foam, require careful handling. Short-term exposure can cause respiratory irritation and sensitization, while long-term exposure may lead to asthma-like symptoms or chemical sensitivities in some individuals.
For environmentally conscious DIYers, researching products with eco-friendly certifications and less harmful chemical profiles is worthwhile, even if these options come at a premium price.
Comparing DIY Spray Foam to Other DIY Insulation Options
Spray foam is just one of several insulation options available to DIYers. Understanding how it compares to alternatives helps in making the right choice for specific projects.
Fiberglass batts offer:
- Lower cost
- Easier handling without special equipment
- Less technical application
- No chemical mixing or curing concerns
However, spray foam provides:
- Superior air-sealing properties
- Higher R-value per inch
- Better performance in irregular spaces
- Moisture resistance (closed-cell varieties)
- Structural enhancement to walls and roofs
For many DIY applications, a hybrid approach may be optimal—using spray foam for air sealing and critical areas, then supplementing with less expensive insulation types for bulk fill where appropriate.
Legal and Code Compliance Considerations
DIY spray foam enthusiasts must be aware of building codes and regulations that govern insulation installation in their area.
Important compliance factors include:
- Local building codes regarding vapor barriers
- Fire protection requirements
- Ventilation requirements for attics and crawl spaces
- Permit requirements for substantial insulation projects
- Inspections that may be necessary before closing up walls
Some jurisdictions require spray foam insulation to be installed by certified professionals, making DIY application technically non-compliant with local regulations. Check with local building authorities before beginning any significant project to ensure your work will be considered code-compliant, especially if you plan to sell your home in the future.
Maintenance and Long-Term Considerations
Properly applied spray foam insulation requires minimal maintenance and offers exceptional durability. However, DIYers should consider the long-term implications of their installation.
Important long-term factors include:
- Cured spray foam is permanent and difficult to remove if renovations are needed
- Inspection access may be limited after application in certain areas
- Potential impact on future electrical or plumbing work
- Possible need for fire barriers depending on application location
For these reasons, it's important to think about future needs before encapsulating areas in spray foam. Consider installing access panels or leaving certain areas accessible for future work.
Conclusion: Is DIY Spray Foam Right for Your Project?
Determining whether a PU spray foam machine is suitable for your DIY project requires honest assessment of several factors: project size, personal skill level, safety preparedness, and budget constraints.
DIY spray foam application is most appropriate for:
- Smaller, well-defined projects
- DIYers willing to invest in proper safety equipment
- Applications where professional installation costs would be prohibitive
- Individuals who have thoroughly researched proper techniques
It may be less suitable for:
- Whole-house applications
- Those sensitive to chemicals
- Projects requiring precise R-value documentation for code compliance
- Inexperienced DIYers unwilling to practice first
For many homeowners, the middle ground is often optimal—using DIY kits for smaller projects and hiring professionals for larger applications where specialized equipment and experience provide superior results.
Frequently Asked Questions
What safety equipment is essential for DIY spray foam application?
Essential safety equipment includes a full-face respirator with isocyanate-specific cartridges, chemical-resistant coveralls, gloves, eye protection (if not using a full-face respirator), and head covering. Proper ventilation in the work area is also critical.
How much can I save by doing spray foam insulation myself?
DIY spray foam application typically saves 40-60% compared to professional installation costs. However, these savings should be weighed against factors like application quality, time investment, and equipment expenses.
What's the difference between open-cell and closed-cell foam for DIY projects?
Open-cell foam is softer, more flexible, and more affordable but has a lower R-value (3.5-3.6 per inch). Closed-cell foam is denser, creates a moisture barrier, and has a higher R-value (6-7 per inch) but is more expensive and requires more precise application technique.
Can I spray foam insulation in an existing wall without removing drywall?
No, spray foam insulation requires direct access to the cavity being insulated. For existing walls, the drywall would need to be removed, or specialized injection foam systems would be needed (which are typically not DIY-friendly).
How long should I wait before occupying a space after DIY spray foam application?
Most manufacturers recommend waiting at least 24 hours before occupying a space after spray foam application. This allows time for the foam to fully cure and for off-gassing of volatile compounds to dissipate. Proper ventilation during this period is essential.